Trending

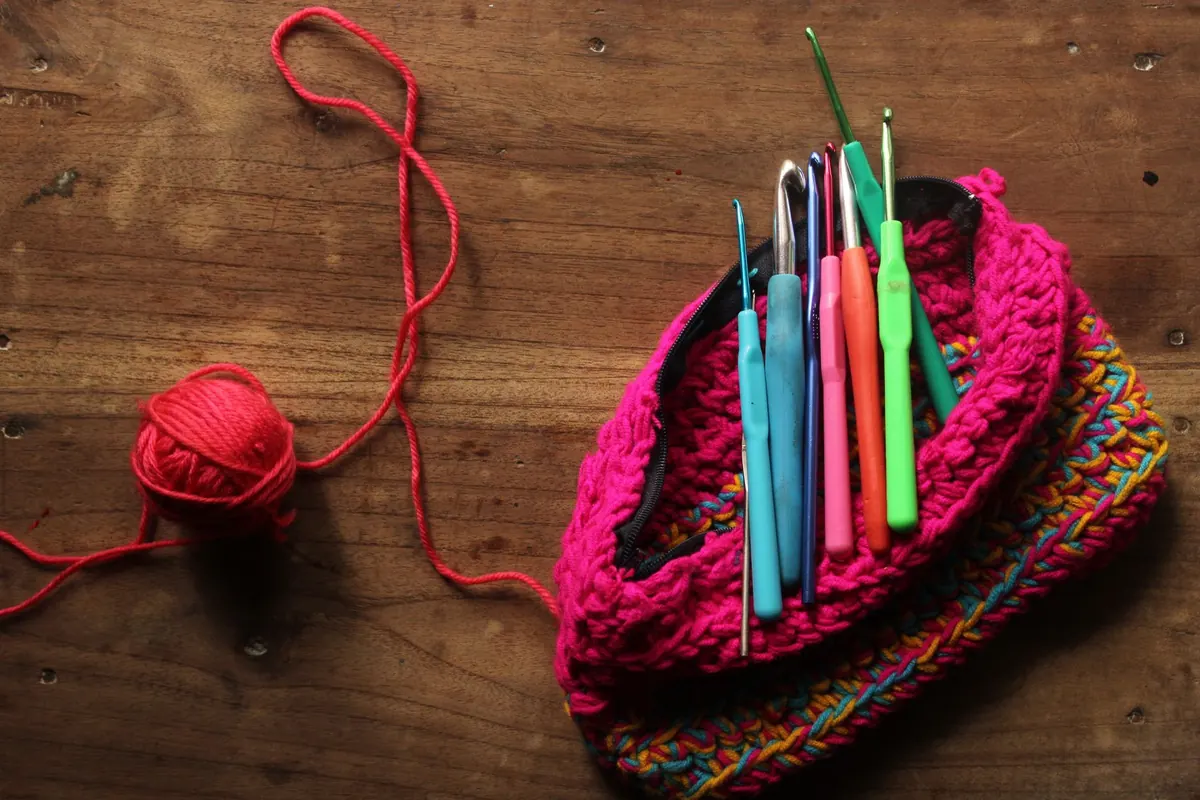
A first crochet project rarely looks like the picture on the pattern. The edges curve inwards, the rectangle narrows to a point, and somewhere around row six you have mysteriously gained four stitches. None of this means you are doing it wrong as a person. These are the sticking points almost everyone meets in the first few weeks, and every one of them has a straightforward fix.
Most uneven edges are a counting problem, not a talent problem. Beginners lose stitches at the end of a row, where the final stitch sits tucked under the turning chain and is easy to overlook, and gain them at the beginning, where the turning chain gets treated as a stitch when it is not one.
The fix is dull but it works: count every row, out loud if that helps, until the habit sticks. Put a stitch marker in the first and last stitch of each row for your first few projects. When your count goes wrong, undo back to the last row where it was right rather than trying to fudge it, because a fudged row becomes two, and then a whole sleeve.
A foundation chain worked too tightly causes the opposite problem — a bottom edge that curves inwards and refuses to lie flat. Work the chain on a hook one size larger, then switch back to your usual hook for the first row of stitches.
Look at the top of a finished row and you will see a line of V shapes. Each V has two loops, front and back. Standard crochet goes under both. Working into the front loop only, or the back loop only, is a genuine technique — it creates ridges, texture and stretchy ribbing — but done by accident it gives you a fabric that puckers and pulls apart. If an odd horizontal line runs through your work, check which loop your hook is going under.
A turning chain is the few chains you make at the end of a row to lift your yarn to the height of the next one. In UK double crochet (US single crochet) that is usually one chain, and it does not count as a stitch, so you work into the first stitch of the row below. In UK treble (US double) it is usually three chains, and it does count, which means you skip the first stitch of the row below and work into the second.
Get this the wrong way round and you will add or lose a stitch on every single row. Patterns should state it near the top: look for a line such as “ch 3 counts as first tr” or “ch 1 does not count as a stitch”.
Work two short test rows, one each way, and see which keeps your stitch count steady. If you are designing your own piece, be consistent — a two-chain turning chain for a UK treble is perfectly workable as long as you do it the same way every time.
This one catches out experienced crocheters too. Both countries use the same words for different stitches, so a pattern can be perfectly written and still produce something half the size you expected.
To spot which you have, check the abbreviation list. If it includes “sc” or “hdc”, it is American. If it uses “dc”, “htr” and “tr” and tells you to “miss” a stitch where an American pattern would say “skip”, it is British. Patterns also give tension rather than gauge in the UK, which is a useful clue.
The hook size printed on a yarn band is a starting point, not a rule. If your fabric comes out stiff as cardboard and your hand aches after ten minutes, go up a hook size. If it is holey and floppy, go down. The ball band does not know how tightly you hold your yarn.
Chain enough for roughly 15cm, work in the stitch your pattern uses until the swatch is square, then measure 10cm across the middle and count the stitches. Compare that with the pattern’s stated tension. More stitches than stated means your tension is tight, so go up a hook size; fewer means go down. For blankets, scarves and bags you can often skip this and simply enjoy the fabric you have made. For anything that has to fit a body, swatch first.
A death grip on hook and yarn is one of the most common causes of beginners giving up. Tension should come from the way the yarn runs over your finger, not from clamping it. Hold the hook either over the top like a knife or underneath like a pencil — both are correct, so use whichever your hand prefers.
Stop every twenty minutes or so, put the work down and shake your hands out. If you get persistent pain, numbness or tingling in your hands or wrists, speak to a health professional rather than working through it.
Leave tails of about 15cm. Thread each one onto a blunt tapestry needle and weave it through the back of the work in two different directions, changing direction partway so the end cannot work its way loose. Do not tie a knot and snip the yarn — knots work free in wear and washing, and they leave a hard lump. Weave in as you finish each section rather than leaving twelve ends for a miserable evening later.
When something looks off, stop and read the last row you worked rather than the whole pattern. Count the stitches. Check your turning chain. Check which loop you are going under. Then undo without guilt — pulling back a row or two, which crocheters call frogging, takes minutes, while a mistake you decide to live with will annoy you every time you look at it.
Keep a small notebook with the hook size, yarn and stitch count for each project, and note anything you had to adjust. After three or four pieces you will spot your own patterns: the rows where you always drop a stitch, the hook size that suits your hands. Those notes are worth more than any tutorial.
Photo: Jahra Tasfia Reza / Pexels