Trending

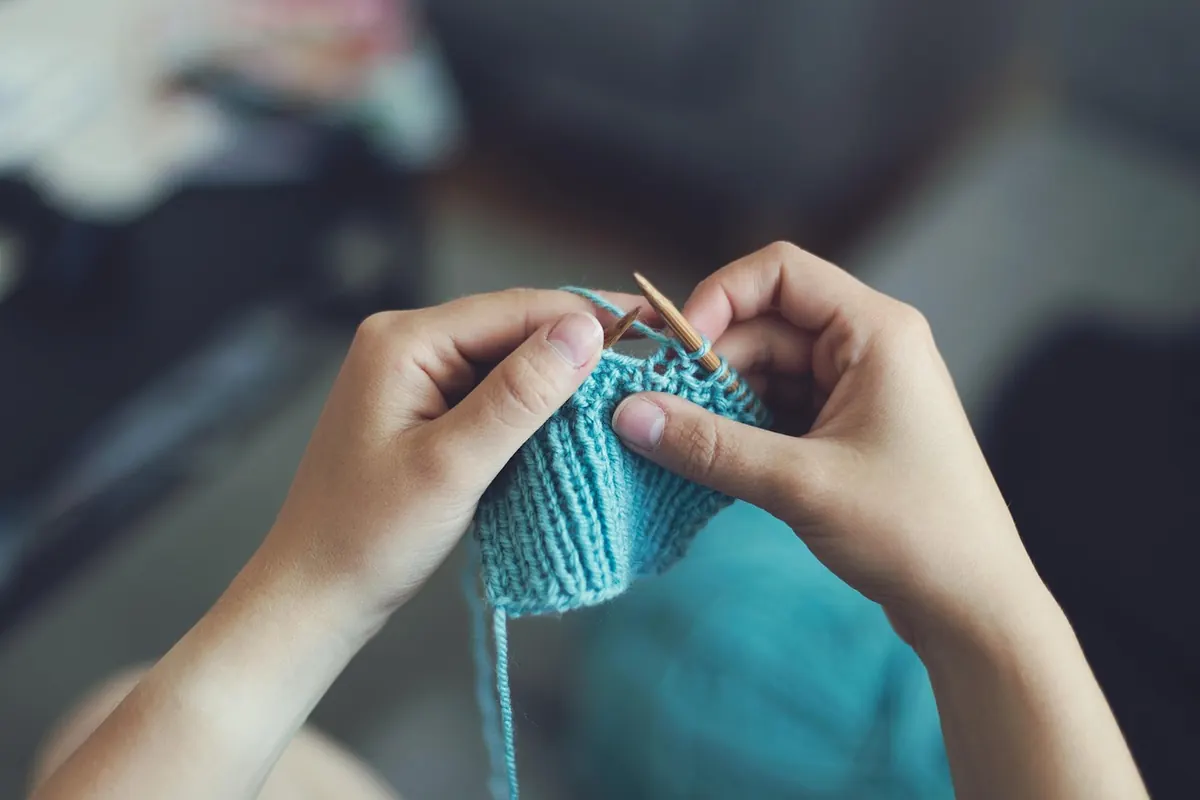
A scarf is the ideal first project, and not simply because it's useful. It's a long rectangle. There is no shaping, no sleeve to set in, no pattern to follow once you're going, and no fit to worry about. If your tension wanders a little halfway down, nobody will know. Even better, the stitch you'll use — garter stitch — is the most forgiving surface in knitting, and it hides small wobbles wonderfully.
By the time you finish, you'll have learned the three skills that every other project is built from: casting on, knitting, and casting off. Set aside an evening to get started, and expect the first few rows to feel clumsy. They always do.
Keep the equipment simple. You need less than you think.
Avoid eyelash yarn, mohair, chenille and anything black for this first attempt. They make it genuinely hard to see what you're doing, and you'll learn faster with plain wool.
Casting on creates the row of loops that everything else hangs from. There are several methods, and the knitted cast on is the friendliest for beginners because it uses the same motion as the knit stitch — so you're learning two things at once.
Thirty stitches on 4mm needles gives a scarf roughly 18–20cm wide, which is a comfortable adult width. Count them once at the end. If you have 29 or 31, it truly doesn't matter — the scarf will simply be a few millimetres narrower or wider.
Here's the good news: for this scarf you knit every single stitch of every single row. That's called garter stitch, and it produces a reversible, ridged fabric that lies flat and refuses to curl at the edges. It's the only stitch you need.
Hold the needle with the stitches in your left hand and the empty needle in your right. For each stitch:
Work across the row until the left needle is empty, turn the work, and begin again. Resist the urge to grip tightly; the yarn should flow through your fingers rather than be yanked. Aim for even, relaxed stitches rather than perfect ones.
First, count your stitches at the end of every few rows. An accidental extra stitch usually creeps in when you wrap the yarn around the needle at the beginning of a row without knitting it. Catching a mistake five rows down is easy; catching it fifty rows down is not.
Second, keep a note of where you are. A cheap row counter, a tally on a scrap of paper, or simply counting the ridges on the fabric (each ridge equals two rows) all work. Measure the scarf with a tape measure as you go. Most adults want around 150cm, though anywhere from 130cm to 180cm is perfectly wearable.
You will drop a stitch at some point, or create a hole where one shouldn't be. It isn't a disaster. A dropped stitch shows as a loose loop running down the fabric; catch it with a spare needle or a safety pin immediately, then use a crochet hook to work it back up the ladder of loops to the top.
If the mistake is more than a few rows back, or your stitch count has drifted badly, simply pull the needles out and unravel — in knitting, that's called frogging, and everyone does it. Wind the yarn back into a ball and cast on again. A scarf is a low-stakes place to practise this.
If your hands ache, stop. Knitting uses small muscles in repetitive ways, and a break now is better than a sore wrist tomorrow. If pain persists or worsens, see a physiotherapist or your GP rather than pushing through it.
When the scarf is the length you want, cast off loosely so the end matches the beginning in stretch.
Finally, weave in the loose ends. Thread each tail onto the tapestry needle and run it through a few stitches on the wrong side of the fabric, then turn and go back two or three stitches in the opposite direction before trimming. This locks it without a knot.
Give the finished scarf a gentle soak in cool water with a drop of wool wash, press it between towels to remove the excess, and dry it flat. Garter stitch barely needs stretching, but a wash settles the stitches and evens out any uneven rows.
Wear it. That's the point of it, bumps and all. If you want a second one, try adding stripes by changing colour every few rows, or use chunky yarn and 6mm needles to work up the same rectangle in a fraction of the time. When you're ready for more, the next step is learning the purl stitch, which opens up stocking stitch, ribbing and almost everything else. Take those three skills — cast on, knit, cast off — and you can already make blankets, cushion covers and scarves for everyone you know.
Photo: Foundry / Pixabay